
Introduction
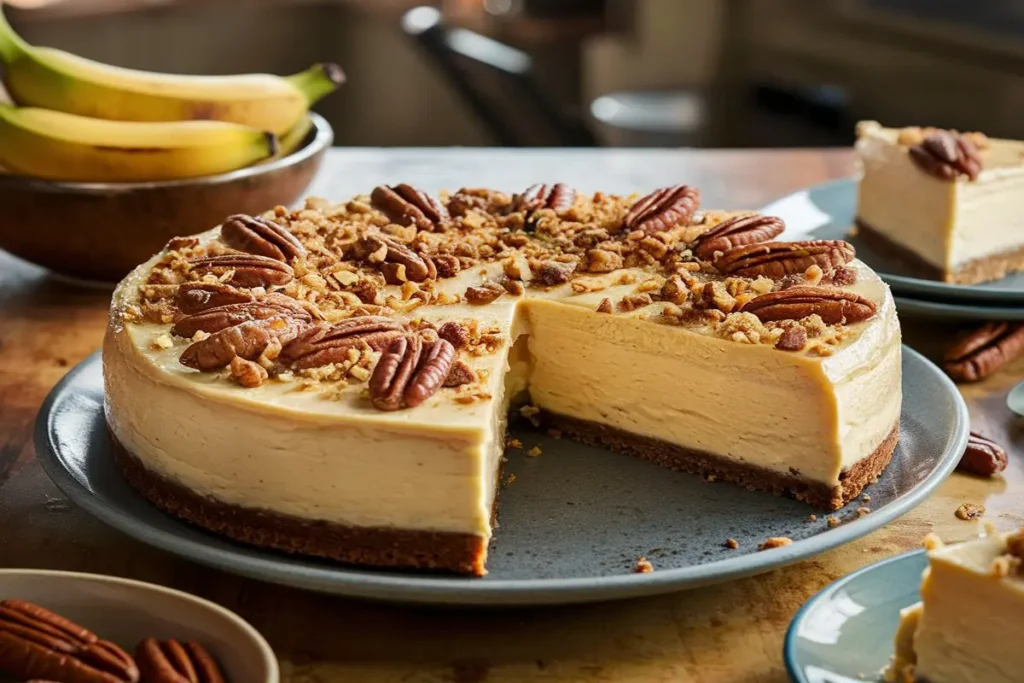
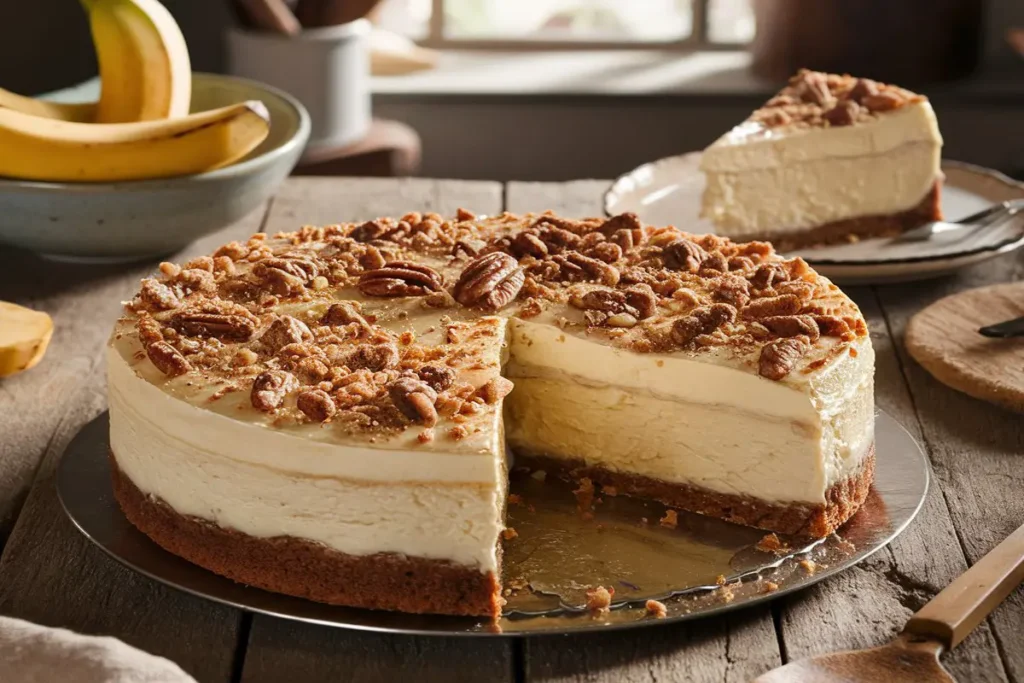
In the world of desserts, few things are more beloved than banana pudding and cheesecake. Each has its own fan base, with the creamy richness of cheesecake and the nostalgic comfort of banana pudding. But what if we told you that you could have the best of both worlds in one indulgent dessert? Enter the Banana Pudding Crunch Cheesecake—the ultimate fusion that combines the velvety texture of cheesecake with the delightful flavors of banana pudding, all topped off with a crunchy layer that adds the perfect amount of texture.
This dessert is a showstopper, ideal for any occasion, whether it’s a family gathering, a potluck, or just a treat for yourself. In this blog post, we’ll walk you through every step of making this masterpiece, from the crust to the creamy banana layers, and the perfect crunchy topping. Let’s dive into this decadent recipe and discover how to create this dessert fusion that’s sure to become a new favorite.
Ingredients
To make this Banana Pudding Crunch Cheesecake, you’ll need the following ingredients:
For the Crust:
- 1 ½ cups vanilla wafer crumbs
- ¼ cup granulated sugar
- ½ cup unsalted butter, melted
For the Cheesecake Layer:
- 24 oz cream cheese, softened
- 1 cup granulated sugar
- 3 large eggs
- 1 teaspoon vanilla extract
- ½ cup sour cream
- 2 ripe bananas, mashed
For the Banana Pudding Layer:
- 1 package (3.4 oz) instant banana pudding mix
- 2 cups cold milk
- 1 teaspoon vanilla extract
- 1 cup heavy whipping cream, whipped to stiff peaks
For the Crunch Topping:
- 1 ½ cups vanilla wafer crumbs
- ¼ cup brown sugar
- ½ cup unsalted butter, melted
- ½ cup chopped pecans (optional)
For Garnish:
- Sliced bananas
- Whipped cream
- Crushed vanilla wafers
Step 1: Preparing the Crust
Start by preheating your oven to 325°F (163°C). In a medium bowl, combine the vanilla wafer crumbs, granulated sugar, and melted butter. Mix until the crumbs are evenly coated with the butter. Press this mixture into the bottom of a 9-inch springform pan, ensuring an even layer. The crust is the foundation of this dessert, and using vanilla wafer crumbs adds a subtle sweetness that complements the banana flavor perfectly.
Baking the crust for about 10 minutes, or until it’s lightly golden, gives it a firm texture that holds up under the creamy layers of cheesecake and pudding. This step also enhances the flavor by toasting the wafer crumbs slightly, bringing out a deeper, more complex taste. Once baked, remove the crust from the oven and let it cool while you prepare the cheesecake filling.
Step 2: Making the Cheesecake Layer
In a large mixing bowl, beat the cream cheese until smooth and creamy. It’s crucial to use softened cream cheese, as this ensures a lump-free mixture that’s easier to blend with the other ingredients. Gradually add the granulated sugar, beating until the mixture is light and fluffy. The sugar not only sweetens the cheesecake but also helps achieve a silky texture.
Add the eggs one at a time, beating well after each addition. This gradual incorporation helps maintain the creamy consistency of the batter. Stir in the vanilla extract and sour cream until just combined. Sour cream adds a tangy richness that balances the sweetness and complements the banana flavor.
Finally, fold in the mashed bananas. Using ripe bananas is essential, as they provide the best flavor and sweetness. The bananas should be mashed well, but it’s okay to leave a few small chunks for added texture.
Pour the cheesecake batter over the cooled crust and spread it out evenly. Tap the pan gently on the counter to release any air bubbles that might have formed during mixing. Bake the cheesecake in the preheated oven for about 50-60 minutes, or until the center is set but still slightly jiggly. The jiggle test is key here; the cheesecake will continue to set as it cools, so you don’t want to overbake it.
Turn off the oven and leave the cheesecake inside to cool gradually with the oven door ajar. This helps prevent cracks on the surface by allowing the cheesecake to cool down slowly and evenly. Once cooled to room temperature, transfer the cheesecake to the refrigerator to chill for at least 4 hours, or preferably overnight. Chilling allows the flavors to meld together, creating a more cohesive dessert.
Step 3: Preparing the Banana Pudding Layer
While the cheesecake is chilling, prepare the banana pudding layer. In a medium bowl, whisk together the instant banana pudding mix, cold milk, and vanilla extract. The instant pudding mix is a convenient way to achieve the classic banana pudding flavor without the fuss of cooking a custard from scratch. Whisk until the mixture begins to thicken, about 2 minutes. This quick process makes it an easy addition to the recipe.
In a separate bowl, beat the heavy whipping cream to stiff peaks. Whipping the cream adds a light, airy texture to the pudding layer, making it fluffy and mousse-like. Gently fold the whipped cream into the banana pudding mixture until fully incorporated. This step is crucial for achieving the right consistency—too much stirring can deflate the whipped cream, making the pudding layer dense instead of light.
Once the cheesecake has chilled and set, spread the banana pudding mixture evenly over the top of the cheesecake. The pudding layer should be thick and luxurious, adding a creamy contrast to the denser cheesecake beneath. Return the cheesecake to the refrigerator to chill for another hour, allowing the pudding layer to firm up slightly.
Step 4: Adding the Crunch Topping
For the crunch topping, preheat your oven to 350°F (177°C). In a medium bowl, combine the vanilla wafer crumbs, brown sugar, melted butter, and chopped pecans (if using). The combination of wafer crumbs and pecans provides a satisfying crunch that contrasts beautifully with the creamy layers below. The brown sugar adds a caramel-like depth of flavor that enhances the overall sweetness of the dessert.
Spread this mixture out on a baking sheet and bake for 10-12 minutes, stirring occasionally, until golden and crisp. Baking the topping separately ensures it stays crunchy when added to the cheesecake, preventing it from becoming soggy.
Let the topping cool completely before adding it to the cheesecake. When ready to serve, sprinkle the crunchy topping evenly over the banana pudding layer. This adds a delightful texture that complements the creamy layers below, making each bite an experience in itself.
Step 5: Garnishing and Serving
Before serving, garnish the cheesecake with freshly sliced bananas, a dollop of whipped cream, and a sprinkle of crushed vanilla wafers. The fresh bananas add a burst of flavor and a beautiful presentation, making this dessert even more irresistible. The whipped cream adds a lightness that balances the richness of the cheesecake and pudding layers.
When slicing the cheesecake, use a sharp knife and wipe it clean between cuts for neat, professional-looking slices. The layers should be distinct and visually appealing, showcasing the different textures and flavors in each bite.
Tips for Success
Room Temperature Ingredients: Make sure all your ingredients, especially the cream cheese and eggs, are at room temperature before you start. This ensures a smooth, creamy cheesecake filling without lumps. Cold ingredients can cause the batter to curdle, resulting in a lumpy texture.
Chill Time: Don’t rush the chilling process. Allowing the cheesecake to chill thoroughly ensures that it sets properly and the flavors meld together beautifully. For best results, chill the cheesecake overnight to give it ample time to firm up.
Banana Selection: Use ripe bananas for the best flavor in both the cheesecake and banana pudding layers. The natural sweetness of ripe bananas enhances the overall taste of the dessert. If your bananas aren’t ripe enough, you can speed up the process by placing them in a brown paper bag with an apple or a few.
Preventing Cracks: To avoid cracks in your cheesecake, don’t overmix the batter and bake it at a low temperature. Gradually cooling the cheesecake in the oven also helps prevent cracking. If you do notice a crack, don’t worry—the banana pudding layer will cover it up!
Springform Pan Tips: Using a springform pan makes it easy to remove the cheesecake without damaging the layers. If you’re worried about leaks, wrap the bottom of the pan in aluminum foil before adding the crust.
Variations and Customizations
This Banana Pudding Crunch Cheesecake is incredibly versatile. Here are a few ideas to customize this recipe to your liking:
Chocolate Drizzle: Add a drizzle of chocolate sauce over the top for a banana-chocolate twist. The rich, bittersweet chocolate pairs wonderfully with the sweet banana and creamy cheesecake layers.
Caramel Swirl: Swirl some caramel sauce into the cheesecake batter before baking for a caramel banana flavor. The caramel adds a buttery richness that complements the bananas beautifully.
Nut-Free Option: If you prefer a nut-free version, simply omit the pecans from the crunch topping. You can also add extra vanilla wafer crumbs or substitute with crushed graham crackers for the crunch.
Mini Cheesecakes: Create individual mini cheesecakes by dividing the crust, filling, and toppings into a muffin tin lined with cupcake liners. Adjust the baking time accordingly—about 20-25 minutes should do the trick. Mini cheesecakes are perfect for parties or portion control.
Gluten-Free Version: Use gluten-free vanilla wafers for the crust and topping to make this dessert gluten-free. Ensure that all other ingredients, such as the pudding mix, are also gluten-free.
Pairing Suggestions
To complement the rich flavors of the Banana Pudding Crunch Cheesecake, consider pairing it with a cup of Earl Grey Cookies for a delightful afternoon tea, or serve it alongside a tangy dessert like the Ultimate Key Lime Cake for a balanced dessert spread.
You could also serve this cheesecake with a refreshing beverage like a Spicy Margarita for an exciting contrast between the dessert’s sweetness and the drink’s zesty kick.

Conclusion
The Banana Pudding Crunch Cheesecake is truly the ultimate dessert fusion. It combines the best of both worlds—cheesecake and banana pudding—into one harmonious, delicious dessert. The crunchy topping adds a perfect textural contrast to the creamy layers, making every bite an experience to savor.
Whether you’re a cheesecake lover, a banana pudding enthusiast, or simply looking for a dessert that will impress, this recipe is sure to become a staple in your dessert repertoire. Try it out for your next special occasion, and don’t forget to share it with friends and family—they’ll be asking for the recipe in no time!
For more delicious cheesecake recipes, check out the Ultimate Blackberry Cheesecake Recipe or explore other innovative dessert ideas like the Strawberry Earthquake Cake. Happy baking!