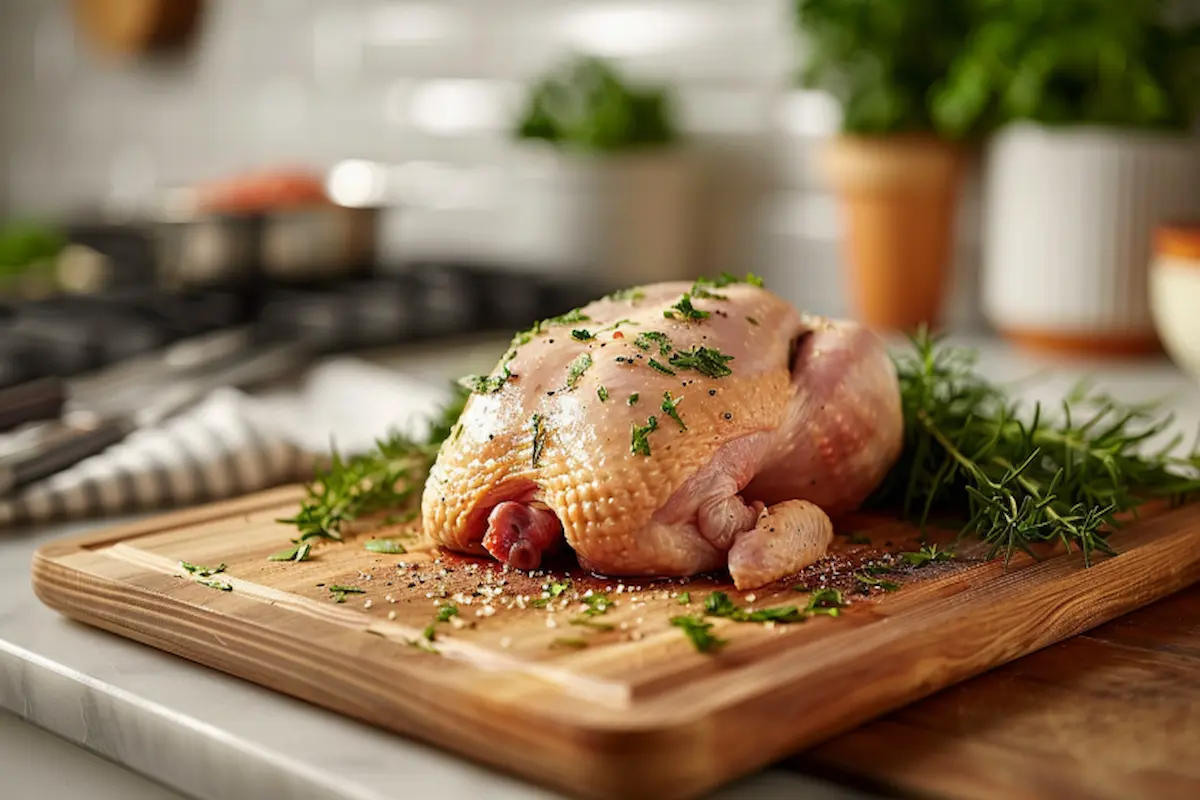
Introduction: How to Clean Chicken Butt
When it comes to preparing chicken for a meal, one of the most overlooked aspects is cleaning the chicken butt. For many, the thought of this process may seem unnecessary or even strange, but for those who prioritize flavor, cleanliness, and food safety, cleaning the chicken butt is an essential step. Whether you’re preparing a simple roasted chicken or getting ready to cook a grand meal, this detailed guide will ensure that your chicken is not only delicious but also properly cleaned.
In this comprehensive guide, we will walk you through the importance of cleaning the chicken butt, how to do it effectively, and what to watch out for to avoid common mistakes. Plus, we’ll offer additional tips for enhancing your chicken recipes, making the most of your cleaning efforts, and internal links to helpful resources across our site, ensuring your cooking journey is smooth and hassle-free.
Why Cleaning the Chicken Butt Matters
For many cooks, particularly those new to handling whole chickens, the question often arises: Why clean the chicken butt? The answer is twofold: flavor and safety.
The area near the chicken’s tail contains a gland known as the uropygial gland (also called the preen gland). While this gland is crucial for chickens in nature, as it helps them waterproof their feathers, it can cause issues in cooking. If the gland is left intact, it can release a strong, oily substance that may leave a bitter, unpleasant flavor in your dish. Additionally, the chicken’s tail can trap bacteria or fecal matter if not properly cleaned, which could pose food safety risks.
By thoroughly cleaning the chicken butt, you remove any unwanted residue or oils that might spoil the taste of your meal, and more importantly, you ensure that your chicken is safe to eat.
For those of you experimenting with different chicken recipes like rotisserie chicken, getting into the habit of cleaning the chicken butt will elevate the quality and taste of your dish.
Tools You’ll Need to Clean a Chicken Butt
Before diving into the cleaning process, it’s crucial to have the right tools at your disposal. Here’s what you’ll need:
- Sharp kitchen knife: A good knife ensures you make clean cuts around the chicken’s tail and preen gland.
- Kitchen shears: These are handy for trimming excess skin and fat or cutting around the tough parts of the chicken.
- Disposable gloves: These are essential for maintaining hygiene and avoiding contamination during the cleaning process.
- Cutting board: Use a separate board for raw chicken to avoid cross-contamination with other foods.
- Paper towels: These are useful for drying the chicken and wiping off any residue during cleaning.
- Sanitizing spray: Use this to clean up afterward, ensuring your workspace remains safe.
Having these tools on hand will make the entire process of cleaning the chicken butt much easier and more effective.
Step-by-Step Guide to Clean a Chicken Butt
Now that you’re equipped with the necessary tools, let’s dive into the actual process of cleaning the chicken butt. Follow these steps carefully to ensure that you remove all unwanted parts while maintaining the integrity of the bird.
1. Preparing the Chicken and Your Workspace
Before starting, ensure that your workspace is clean. Use sanitizing spray on your cutting board and kitchen surfaces. This will reduce the risk of bacterial contamination. Once your workspace is ready, lay the chicken breast-side up on the cutting board and have your knife and shears ready.
At this stage, make sure you have gloves on. Handling raw chicken can expose you to bacteria like Salmonella, so it’s crucial to maintain cleanliness at all times. This is also a good time to preheat your oven or prepare your marinade if you plan to cook the chicken right after cleaning.
If you’re planning to cook a dish with bold flavors, check out this chicken brine recipe that will enhance the tenderness and taste of your bird.
2. Identifying the Tail and Preen Gland
Once the chicken is laid out, locate the chicken’s tail near the rear cavity. You’ll notice a small triangular piece of skin and fat, which houses the preen gland. This gland secretes oil, which can negatively affect the flavor of your chicken if left intact.
To identify the gland:
- Gently lift the tail and feel around the base for a firm, fatty bump. This is the preen gland.
3. Removing the Tail and Preen Gland
Using your sharp kitchen knife or shears, carefully cut around the base of the tail, making sure to remove the preen gland completely. A good technique is to slice slowly, making sure you’re not cutting too deep into the meat but removing enough of the fat and gland tissue.
Pro tip: If you plan on roasting or grilling the chicken, removing excess skin and fat around this area will prevent flare-ups and ensure even cooking. Pairing your cleaned chicken with flavorful sides like cheesy potatoes can create a balanced meal that pleases everyone.
4. Cleaning the Cavity
After removing the preen gland, it’s important to clean out the chicken’s cavity. This includes removing any leftover internal organs or fat that may be lingering. While many store-bought chickens are pre-cleaned, it’s always a good idea to double-check for any leftover parts.
This step is crucial if you’re preparing a dish that involves stuffing the chicken, such as roasted stuffed chicken. A clean cavity ensures the stuffing is free from contamination and absorbs the flavors more effectively.
5. Rinsing the Chicken (Optional)
In many households, rinsing raw chicken is a common practice. However, this step is debated among food safety experts. Some argue that rinsing can spread bacteria around the kitchen, while others prefer it to remove any lingering residue.
If you choose to rinse the chicken, make sure to:
- Use cold water.
- Dry the chicken thoroughly with paper towels after rinsing to prevent steaming during cooking.
- Immediately sanitize the sink and any nearby surfaces to avoid contamination.
Alternatively, skipping the rinse and simply patting the chicken dry with paper towels is another safe option.
Hygiene Tips for Cleaning Chicken
Keeping a clean kitchen is just as important as cleaning the chicken itself. To prevent contamination and foodborne illnesses, it’s essential to follow strict hygiene practices when dealing with raw poultry.
1. Hand Washing
Always wash your hands thoroughly after handling raw chicken. Use warm water and soap, scrubbing for at least 20 seconds. This prevents cross-contamination with other foods and kitchen surfaces.
If you’re experimenting with different chicken-based recipes like chicken quesadillas, handwashing between tasks is crucial to avoid spreading bacteria to vegetables or other ingredients.
2. Clean Surfaces Immediately
Use a sanitizing spray to clean your countertops, cutting boards, and any other surfaces that came into contact with the raw chicken. This is especially important if you’re preparing multiple dishes at once.
For example, if you’re planning to make a full meal with a fresh side of Caesar pasta salad, ensuring that your cutting board is properly sanitized between handling chicken and vegetables is vital for preventing foodborne illnesses.
3. Use Separate Utensils
To avoid contamination, always use separate cutting boards, knives, and utensils for raw chicken and other ingredients. For instance, the knife you use to cut chicken should not be the same one you use to slice vegetables for your side dish.
You can also consider labeling certain cutting boards for specific tasks (e.g., raw meats, vegetables) to ensure safe kitchen practices.
Common Mistakes When Cleaning Chicken Butt
Even seasoned cooks can make mistakes when cleaning chicken, leading to compromised flavor or hygiene. Here are some common mistakes to avoid:
1. Leaving the Preen Gland Intact
One of the most frequent mistakes people make is neglecting to remove the preen gland. Leaving this gland intact can result in an oily, unpleasant flavor that can ruin your chicken dish. Always take the extra time to locate and remove this gland during the cleaning process.
If you’re planning to make a flavorful chicken dish like Buffalo chicken sliders, this step is crucial to ensure the meat is tender and flavorful.
2. Not Trimming Excess Fat and Skin
Excess fat and skin around the chicken butt can cause uneven cooking or flare-ups on the grill. Removing these parts will ensure that the chicken cooks evenly and results in a crispy, flavorful skin.
For those who love crispy chicken skin, this is especially important when preparing dishes such as flautas de pollo, where presentation and texture are key.
3. Cross-Contaminating Surfaces
Raw chicken can carry bacteria that, if not handled correctly, can spread to other foods and surfaces in your kitchen. Always use separate utensils and wash your hands frequently when cleaning chicken to avoid contamination.
If you’re preparing multiple dishes at once, such as a chicken quesadilla or spicy rigatoni, being mindful of cross-contamination is essential to maintaining a clean and safe kitchen.
Cooking Chicken After Cleaning: The Next Steps
Once you’ve properly cleaned the chicken butt, you’re ready to cook your bird to perfection. Whether you’re roasting, grilling, or braising, there are several techniques to enhance the flavor and texture of your chicken.
1. Brining for Extra Flavor
Brining is one of the best ways to infuse flavor into your chicken while ensuring that it remains moist and tender. A brine solution usually consists of water, salt, sugar, and various herbs and spices. The chicken should be soaked in the brine for several hours (or overnight) to maximize flavor.
For detailed guidance, check out our ultimate guide to chicken brine, where you’ll learn how to create the perfect brine for your chicken.
2. Seasoning the Chicken
Seasoning is just as important as cleaning. Once your chicken is dry, generously rub it with your preferred seasonings. Salt, pepper, garlic, and herbs like rosemary or thyme work well for enhancing flavor.
If you’re preparing a dish like rotisserie chicken, consider using a mix of spices and herbs that will complement the natural flavors of the bird while ensuring a crispy skin.
3. Stuffing the Chicken for Added Flavor
Stuffing the cavity with aromatic vegetables, herbs, or fruits can add an extra layer of flavor. For example, stuffing the chicken with garlic, onions, and lemon before roasting can enhance the taste of the meat and make your dish more fragrant.
If you love experimenting with flavors, consider serving your stuffed chicken with a side of herb-roasted vegetables to complete your meal.
4. Cooking Methods: Roasting, Grilling, or Braising
The way you cook your chicken can drastically affect its flavor and texture. Here are some popular methods:
- Roasting: This is a great option for achieving crispy skin and juicy meat. Preheat your oven to 400°F (200°C) and cook the chicken for 45–60 minutes, depending on its size.
- Grilling: Perfect for smoky, charred flavors. Ensure the grill is preheated, and cook the chicken over indirect heat for even cooking.
- Braising: A slow-cooking method that results in tender, fall-off-the-bone chicken. This method is ideal for hearty dishes like braised chicken with potatoes.
Expert Tips for Perfect Chicken Every Time
Mastering the art of chicken preparation goes beyond cleaning. Here are some expert tips to ensure your chicken turns out perfect every time:
1. Don’t Skip the Rest Period
After cooking, always allow the chicken to rest for about 10–15 minutes before carving. This allows the juices to redistribute throughout the meat, ensuring a moist and flavorful bite every time.
Pair your chicken with comforting sides, like sweet potatoes or baked beans, for a hearty meal.
2. Use a Meat Thermometer
Always check the internal temperature of your chicken with a meat thermometer to ensure it’s fully cooked. The safe minimum internal temperature for chicken is 165°F (74°C). Insert the thermometer into the thickest part of the thigh for an accurate reading.
Frequently Asked Questions (FAQ) About Clean a Chicken Butt
Here are some common questions and answers about cleaning the chicken butt, ensuring that no part of the process is left unclear:
1. Do I need to clean the chicken butt for all chicken dishes?
Yes. Whether you’re preparing a simple roast or something more complex, cleaning the chicken butt is essential to eliminate the risk of contamination and to enhance the flavor of your dish.
2. Can I freeze the chicken immediately after cleaning?
Yes. After cleaning, you can freeze the chicken. Make sure to pat it dry before freezing, and use airtight packaging to prevent freezer burn. For best results, freeze the chicken as soon as possible after cleaning.
3. What should I do with the removed preen gland and other trimmings?
Dispose of them in a sealed bag and discard them in the trash. You want to avoid any foul odors or contamination in your kitchen or waste bin.
Conclusion: Why Clean Chicken Butt Matters for Every Dish
Cleaning the chicken butt may not be the most glamorous part of preparing a meal, but it is absolutely crucial for achieving a flavorful, safe, and delicious result. From identifying the preen gland to following strict hygiene protocols, these steps ensure that your chicken is not only free of unwanted flavors but also cooked safely.
As you continue experimenting with chicken dishes, remember to incorporate proper cleaning techniques, consider brining for extra flavor, and don’t forget to serve your perfectly cooked bird with complementary sides like roasted vegetables or blackberry cheesecake for dessert.
By following this comprehensive guide, you’ll soon become a master of preparing chicken, delighting family and friends with every dish you create!
