Introduction
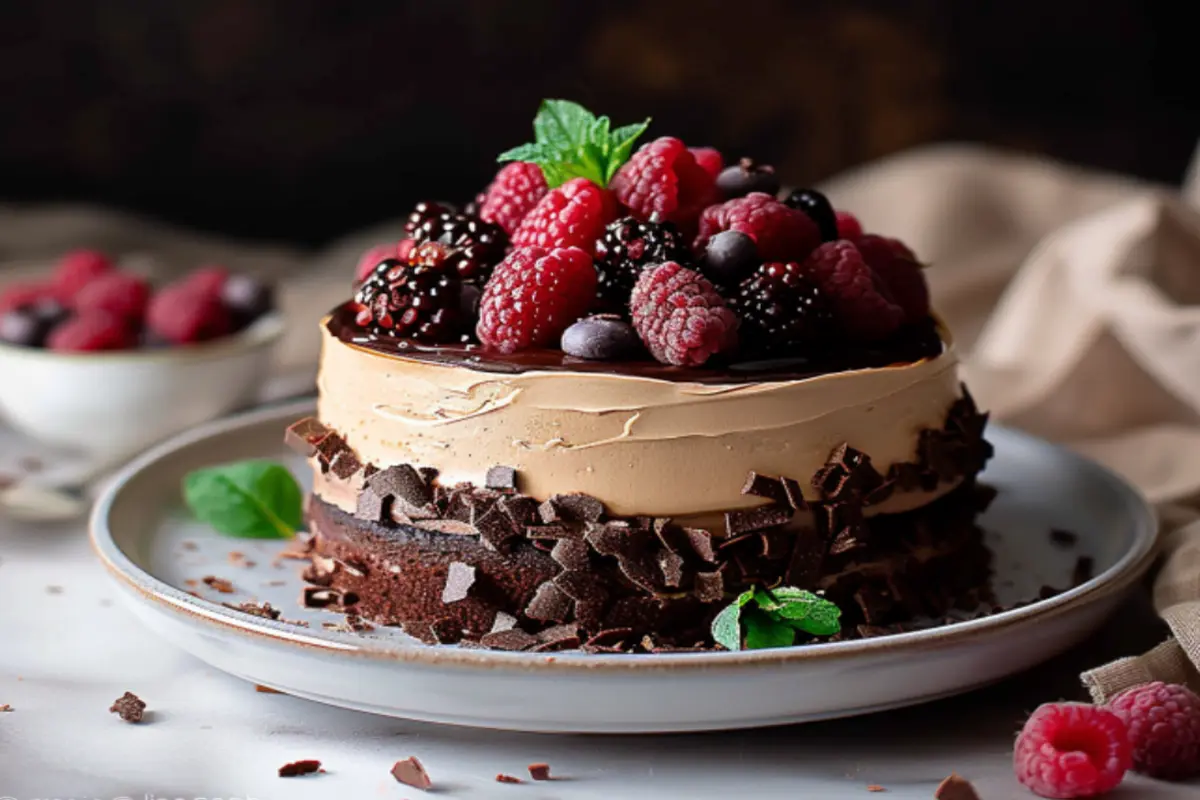
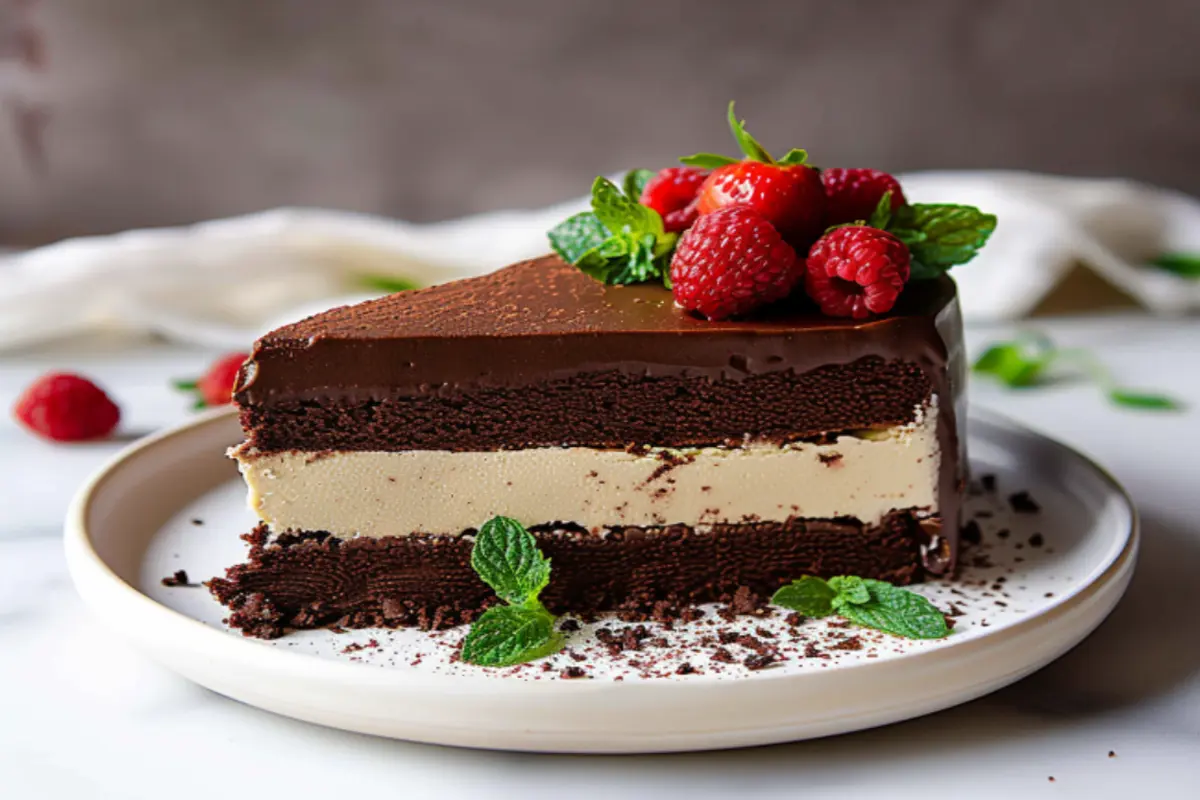
Tuxedo cake recipe is more than just a dessert; it’s a statement. With its striking layers of rich chocolate cake, silky chocolate mousse, and glossy white chocolate ganache, this cake not only tastes divine but also looks like it belongs at a five-star restaurant. Whether you’re planning a special celebration or simply want to treat yourself to a decadent dessert, the tuxedo cake is the perfect choice.
In this comprehensive guide, we will take you through the entire process of making a tuxedo cake from scratch. We’ll cover everything from the essential ingredients to the techniques needed to master each layer. By following these steps, you’ll be able to create a cake that’s not just a feast for the eyes but also a delight for the taste buds.
The Origins and Appeal of Tuxedo cake recipe
The tuxedo cake derives its name from its elegant, black-and-white appearance, reminiscent of a classic tuxedo. Its roots are somewhat obscure, but it’s widely recognized as a cake that symbolizes sophistication and celebration. The combination of dark chocolate and white chocolate layers gives it a rich flavor profile that appeals to a wide range of dessert lovers.
Over time, the tuxedo cake has become a popular choice for weddings, anniversaries, and other special occasions, thanks to its visually striking appearance and luscious taste. This cake’s versatility allows it to be adapted to various flavors and themes, making it a beloved dessert in many households.
Ingredients You’ll Need
To make the perfect tuxedo cake, you’ll need a carefully selected list of ingredients. Quality matters here, so opt for the best ingredients you can find, particularly when it comes to the chocolate.

For the Chocolate Cake:
- 2 cups all-purpose flour
- 2 cups granulated sugar
- 3/4 cup unsweetened cocoa powder
- 2 teaspoons baking powder
- 1 1/2 teaspoons baking soda
- 1 teaspoon salt
- 1 cup whole milk
- 1/2 cup vegetable oil
- 2 large eggs
- 2 teaspoons vanilla extract
- 1 cup boiling water
For the Chocolate Mousse:
- 1 cup heavy cream
- 8 ounces semisweet chocolate, chopped
- 2 tablespoons unsalted butter
For the White Chocolate Ganache:
- 8 ounces white chocolate, chopped
- 1/2 cup heavy cream
For Assembly and Decoration:
- 1 cup chocolate chips (optional, for garnish)
- Fresh berries or chocolate curls (optional, for garnish)
Step-by-Step Guide to Making Tuxedo Cake
Step 1: Preparing the Chocolate Cake
Greasing two 9-inch round cake pans and preheating your oven to 350°F (175°C) first should Line the bottoms with parchment paper for extra security; this will make cake removal simple once baked.
Sift the flour, sugar, cocoa powder, baking powder, baking soda, and salt in a big basin. Your cake’s foundation is these dry ingredients, which guarantee a soft crumb and strong chocolate taste.
In a separate bowl, whisk together the milk, vegetable oil, eggs, and vanilla extract. Gradually incorporate the wet ingredients into the dry ingredients, mixing until you have a smooth, lump-free batter. At this point, the batter will be quite thick, but the next step will change that.
Stir slowly in the hot water to thin the batter and attain a moist texture in the resultant cake. Evenly pour the batter into the ready-made cake pans; bake for thirty to thirty-five minutes. A toothpick put into the center coming out clean or with only a few crumbs attached will let you know the cakes are ready.
Before moving the cakes to a wire rack to cool totally, let them cool in the pans for around ten minutes. When you build the cake, this cooling procedure is absolutely vital since it keeps the mousse and ganache from melting.
Step 2: Crafting the Chocolate Mousse
While the cakes are cooling, it’s time to prepare the chocolate mousse. The mousse is what gives the tuxedo cake its creamy, luxurious texture and is a crucial element of this dessert.
Heat the heavy cream over medium-low in a small saucepan until it barely starts to simmer. Take the saucepan off the burner and add the chopped semisweet chocolate and butter. Stirring constantly until the butter and chocolate have melted will help to produce a smooth, glossy mixture.
Give the chocolate mixture roughly thirty minutes of room temperature cooling time. Transfer it then to the refrigerator to chill for another half an hour. Whirl the mixture till it becomes light and fluffy with an electric mixer once it has thickened somewhat. Take care not to overwhip the mousse; this will cause it to separate and get gritty.
Pro Tip: If you love experimenting with flavors, consider adding a splash of liqueur, like Kahlua or Bailey’s, to the chocolate mousse for a boozy twist. This will add depth to the flavor and make your tuxedo cake even more indulgent.
Step 3: Preparing the White Chocolate Ganache
The white chocolate ganache serves as the finishing touch on your tuxedo cake, providing a smooth and glossy topping that contrasts beautifully with the dark chocolate layers.
Put the chopped white chocolate in a heatproof bowl to prepare the ganache. Heat the heavy cream gently in a small saucepan until just beginning to boil. Over the white chocolate, pour the hot cream; let it remain for one minute to melt the chocolate. Stir the ingredients then until the ganache is smooth and the chocolate melts entirely.
Let the ganache cool slightly before using it. You want it to be pourable but not too runny, so it drapes nicely over the cake and creates those iconic drips down the sides.
Step 4: Assembling the Tuxedo cake recipe
Assemble the tuxedo cake when the cake layers are cooled, mousse is beaten, and ganache is ready. All of your effort comes together here.
Start by placing one of the chocolate cakes on a serving plate or cake stand. Spread a thick, even layer of chocolate mousse over the top of the cake. The mousse layer should be about half an inch thick to provide a good balance between the cake and mousse.
Carefully place the second chocolate cake on top of the mousse layer. Press down gently to ensure the layers stick together without squeezing out too much mousse.
Next, pour the white chocolate ganache over the top of the cake, allowing it to naturally drip down the sides. If you prefer a more polished look, you can use a spatula to smooth the ganache around the sides of the cake.
Internal Link Opportunity: For those who love experimenting with layered desserts, you might also enjoy this Ultimate Blackberry Cheesecake Recipe, which combines rich flavors with a visually stunning presentation.
Step 5: Decorating the Cake
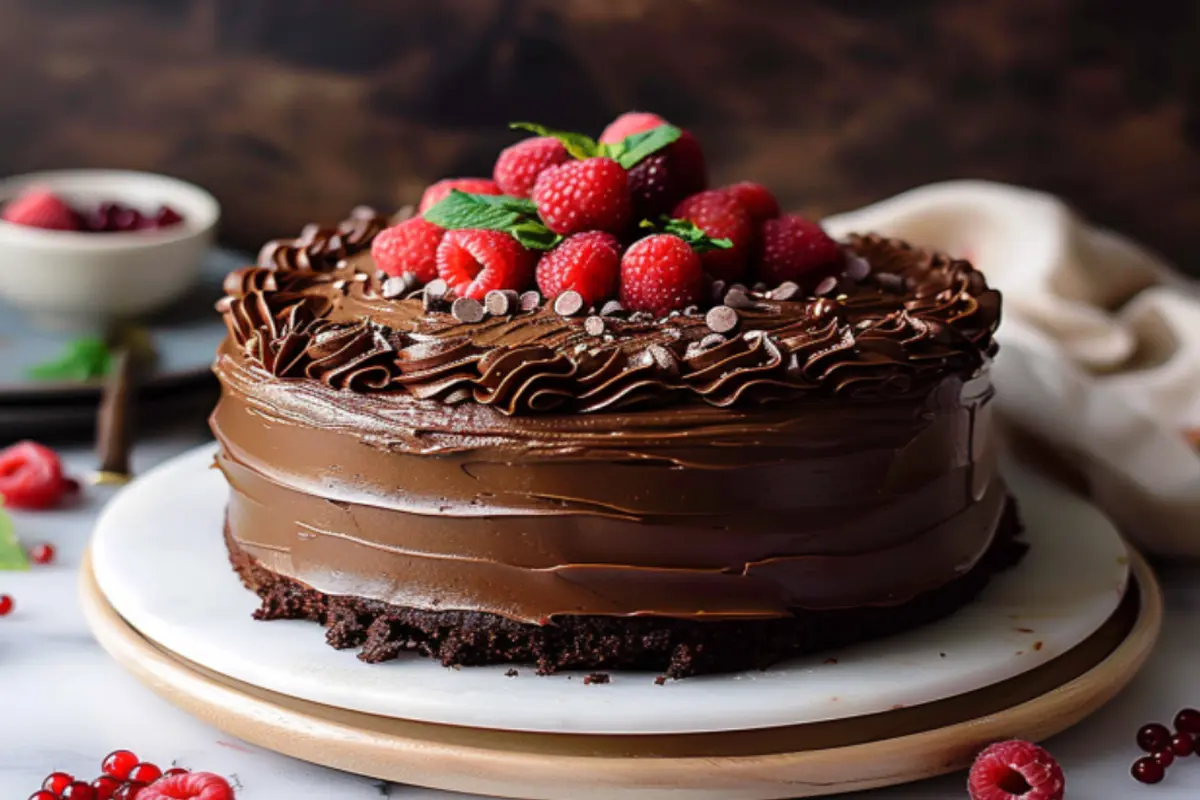
While the tuxedo cake is beautiful on its own, a few simple decorations can take it to the next level. Consider garnishing the top of the cake with chocolate chips, fresh berries, or even chocolate curls. The contrast of colors and textures will make your cake even more eye-catching.
To make chocolate curls, use a vegetable peeler to shave thin strips from a bar of chocolate. These can be arranged on top of the cake for a professional finish. Alternatively, fresh berries like raspberries or strawberries add a burst of color and a hint of tartness that complements the rich chocolate flavors.
Pro Tip: If you’re hosting a larger gathering, you might want to consider making additional desserts to complement your tuxedo cake. For instance, these Perfect Earl Grey Cookies would pair beautifully with the cake, offering a delicate, aromatic contrast to the rich chocolate.

Serving and Enjoying Your Tuxedo cake recipe
Tuxedo cake is a rich and indulgent dessert, so it’s best served in thin slices. Pair it with a cup of strong coffee or a glass of cold milk to balance the sweetness. For an extra-special treat, consider serving the cake with a dollop of whipped cream or a scoop of vanilla ice cream.
Because of its rich flavors and striking appearance, tuxedo cake is perfect for special occasions. Whether you’re celebrating a birthday, an anniversary, or a holiday, this cake will make your event memorable.
Internal Link Opportunity: If you’re interested in trying other elegant cake recipes, you might find this Ultimate Key Lime Cake Recipe particularly delightful. It’s another show-stopping cake that’s perfect for any celebration.
Variations on the Classic Tuxedo Cake
One of the great things about the tuxedo cake is its versatility. While the classic version is delicious, there are plenty of ways to put your own spin on this dessert.
Fruit-Infused Tuxedo cake recipe
For a fruity twist, consider adding a layer of fresh berries between the cake and mousse layers. Raspberries, strawberries, or even cherries work wonderfully with chocolate and add a burst of freshness to the cake. This variation not only enhances the flavor but also adds a splash of color when the cake is sliced.
Liqueur-Enhanced Tuxedo Cake
For an adult version of the Tuxedo cake recipe, try incorporating a liqueur into the chocolate mousse. Kahlua, Bailey’s, or Grand Marnier are all excellent choices. The alcohol will add depth to the flavor and create a more sophisticated dessert that’s perfect for dinner parties.
Chocolate Variations
While the traditional tuxedo cake uses semisweet and white chocolate, you can experiment with other types of chocolate. Dark chocolate can be used for a more intense flavor, while milk chocolate will create a sweeter, creamier mousse. You can also mix different types of chocolate in the ganache for a more complex flavor profile.
Internal Link Opportunity: If you enjoy playing with flavors in your baking, check out the Honey Pistachio Baklava Cheesecake Recipe, a decadent fusion dessert that combines traditional flavors with a modern twist.
Tips for Success
Making a tuxedo cake from scratch can seem daunting, but with these tips, you’ll be able to create a cake that’s as beautiful as it is delicious.
- Use high-quality chocolate: The quality of the chocolate you use will have a significant impact on the flavor of your cake. Choose a good-quality semisweet chocolate for the mousse and a creamy white chocolate for the ganache.
- Ensure the cakes are completely cooled: It’s crucial that the cake layers are completely cool before you start assembling the cake. If they’re even slightly warm, the mousse and ganache will melt and the cake could collapse.
- Practice patience: Creating a tuxedo cake is a labor of love. Take your time with each step, from mixing the batter to whipping the mousse, to ensure a perfect result.
- Consider the occasion: The tuxedo cake is versatile and can be adapted to suit different occasions. For a festive touch, add seasonal decorations like sprinkles or edible gold leaf.
- Pair with complementary desserts: The Tuxedo cake recipe is rich, so it pairs well with lighter desserts. For example, a refreshing fruit sorbet or a light meringue can balance the richness of the cake.
Internal Link Opportunity: For more tips on creating stunning and delicious layered desserts, you might also like the Banana Pudding Crunch Cheesecake Recipe, a creative twist on a classic dessert that’s sure to impress.
Frequently Asked Questions
Q: Can I make the tuxedo cake in advance?
A: Yes! The Tuxedo cake recipe can be made a day or two in advance. Store it in the refrigerator, but be sure to bring it to room temperature before serving to ensure the best texture and flavor.
Q: Can I freeze the tuxedo cake?
A: The cake layers can be frozen before assembly. Wrap them tightly in plastic wrap and aluminum foil, and store them in the freezer for up to a month. Thaw the layers completely before assembling the cake with the mousse and ganache.
Q: What’s the best way to store leftovers?
A: Store any leftover Tuxedo cake recipe in an airtight container in the refrigerator. It will stay fresh for up to 5 days. For the best taste, allow the cake to come to room temperature before serving.
Conclusion
The tuxedo cake is more than just a dessert; it’s an experience. From the rich chocolate layers to the creamy mousse and glossy ganache, every bite is a symphony of flavors and textures. While it may take some time and effort to make, the results are well worth it. Whether you’re celebrating a special occasion or simply want to treat yourself, a homemade tuxedo cake is sure to impress.
By following this guide, you’ll have all the tools you need to create a tuxedo cake that’s both stunning and delicious. Remember to have fun with the process and don’t be afraid to experiment with different flavors and decorations. Happy baking!

